Summary:
Understanding Passport Photo Requirements in Virginia
Before you decide between home or store, you need to understand what makes a passport photo acceptable. The U.S. Department of State has specific requirements that don’t change based on where you take the photo.
Your photo must be exactly 2×2 inches with your head measuring between 1 and 1 3/8 inches from chin to crown. The photo needs to be taken within the last six months, printed on matte or glossy photo paper, and show a neutral expression with both eyes open and mouth closed.
The background must be plain white or off-white, with no shadows on your face. You can’t wear glasses, hats, or uniforms, and the photo must be high-resolution—not blurry, grainy, or pixelated.
What Happens When Photos Don't Meet Requirements
Photo rejections are the leading cause of passport application delays. When your photo doesn’t meet requirements, the entire process stops until you submit a new one.
Common rejection reasons include incorrect sizing, poor lighting that creates shadows, photos taken too close or too far away, and images that are blurry or printed on wrong paper. The lighting issues are particularly tricky—photos that are too bright cause overexposure, while dim lighting creates underexposure.
You might think a photo looks fine, but government reviewers examine every detail. They’re looking for uniform lighting on your face, proper head positioning, and technical specifications that ensure the photo will work for identification purposes.
This is why understanding the requirements upfront matters more than where you take the photo. A perfectly executed home photo will always beat a poorly done professional one. The key is knowing what “perfectly executed” actually means and having the patience to get it right.
The Real Cost of Getting It Wrong
Photo rejections are the leading cause of passport application delays. When your photo doesn’t meet requirements, the entire process stops until you submit a new one.
Common rejection reasons include incorrect sizing, poor lighting that creates shadows, photos taken too close or too far away, and images that are blurry or printed on wrong paper. The lighting issues are particularly tricky—photos that are too bright cause overexposure, while dim lighting creates underexposure.
You might think a photo looks fine, but government reviewers examine every detail. They’re looking for uniform lighting on your face, proper head positioning, and technical specifications that ensure the photo will work for identification purposes.
This is why understanding the requirements upfront matters more than where you take the photo. A perfectly executed home photo will always beat a poorly done professional one. The key is knowing what “perfectly executed” actually means and having the patience to get it right.
Taking Passport Photos at Home: The Complete Process
Taking passport photos at home is completely acceptable and can produce professional-quality results. The process requires attention to detail, but it’s not complicated if you follow the right steps.
You’ll need a smartphone or camera, a plain white or off-white background, good lighting, and someone to help take the photo. The most important rule is maintaining at least three feet of distance between you and the camera to avoid face distortion.
The key to success is preparation. Set up your background, check your lighting, and take multiple shots until you get one that meets all requirements. Online tools can help you crop and size the photo correctly, and you can print it at home or at local stores for a fraction of professional photo costs.
Setting Up Your Home Photo Studio
Your background needs to be completely plain—a white wall works perfectly, but make sure it’s not textured. If you don’t have a suitable wall, you can use a large sheet of white paper or poster board, but ensure no edges or tape are visible in the photo.
Lighting is crucial and often the most challenging aspect. Natural daylight from a window provides the best results, but avoid direct sunlight that creates harsh shadows. You want even, soft lighting that illuminates your face uniformly without creating shadows under your eyes, nose, or chin.
Position yourself at least half a meter from the background to avoid casting shadows on it. The person taking your photo should stand at least three feet away to prevent face distortion. If you’re using a smartphone, consider using the telephoto lens or 2x zoom for better results.
Take multiple photos from slightly different angles and lighting conditions. What looks good on your phone screen might not meet government requirements when examined closely. Having options gives you the best chance of finding a photo that works perfectly.
Printing Your Home Photos Correctly
Once you have a good photo, printing it correctly is essential. You cannot use regular printer paper—it must be photo-quality paper with at least 200 GSM weight. Both matte and glossy finishes are acceptable, though glossy generally provides higher quality and more defined colors.
If you’re printing at home, select the highest quality settings on your printer. Standard settings usually compromise quality for speed and ink conservation, which won’t work for passport photos. Make sure you don’t select any options to stretch or shrink the image during printing.
Many people choose to print their photos at local retailers instead of at home. Walmart offers 4×6 prints for around $0.12, making it the cheapest option for printing passport photo templates. CVS, Walgreens, and other pharmacies also offer printing services, though at slightly higher costs.
The advantage of printing at home is immediate results and complete control over the process. The advantage of retail printing is professional-grade equipment and paper that’s guaranteed to meet requirements. Either approach works as long as you use proper photo paper and maintain correct sizing.
Choosing the Right Option for Your Passport Photo Needs
The choice between home and store depends on your priorities, budget, and comfort level with the technical requirements. Home photos offer significant cost savings and complete control over the process, while store photos provide professional expertise and guaranteed compliance.
If you choose the home route, you’ll save money and gain valuable experience for future passport renewals. If you prefer professional service, you’ll pay more but get peace of mind and immediate results from experienced staff.
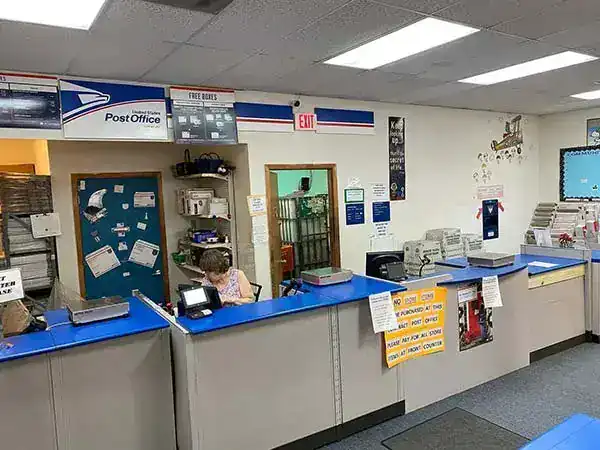
Both options can produce excellent results when done correctly. The most important factor is understanding the requirements and taking the time to get them right. For residents of Pierce County, VA, we at School & Office Annex can provide guidance and printing services to support whichever approach you choose.